
Chat Widget Tutorial
This guide adds the floating Octocom chat widget to a Shopify store using the app embed — no code and no script tag required.
There are two steps, and both are required: enable the app embed in your theme, then whitelist your storefront domain in the Octocom dashboard. Enabling the embed on its own is the most common reason the widget doesn't appear.
Before you start
A Shopify subscription is not required to launch the widget. You can pay by invoice, Stripe, or another arrangement with our team. During onboarding, choose I'll be paying via another method to continue without subscribing through Shopify. Connecting a store to an existing account does not require a new plan.
This only works on Shopify-hosted storefronts
The app embed is injected by your Shopify theme, so it only runs on pages
Shopify renders — your .myshopify.com storefront and any custom domain
pointed at it.
If your storefront is a headless / custom build (Hydrogen, Next.js, or any site that only uses Shopify for checkout or order data), the theme editor has no effect on it. Add the widget with a script tag instead, following Launch Chat Widget.
Stores often run both: for example a custom site on example.com that syncs
orders to a Shopify storefront on us.example.com. In that setup the app
embed covers us.example.com only, and example.com needs the script tag.
Not sure which you have? Open the page and view source — Shopify-rendered
storefronts include cdn.shopify.com asset URLs.
1. Enable the app embed
-
Navigate to your Shopify store's admin page.
-
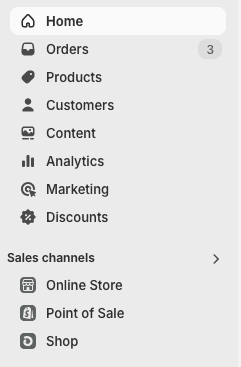
Under "Sales channels" click "Online store".
-
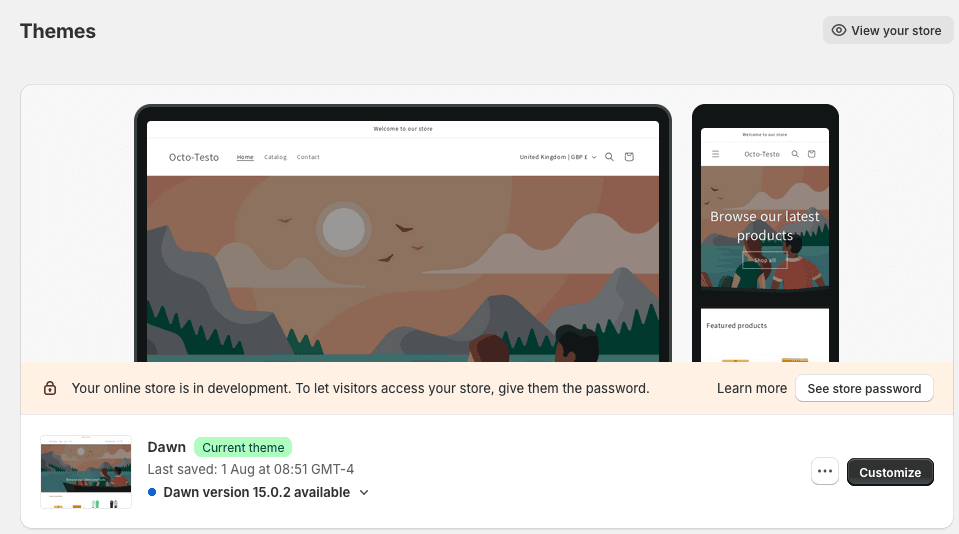
Select the theme you'd like to add the widget to, then click "Customize".
-
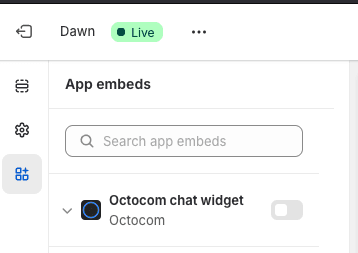
In the left sidebar, click "App embeds".
-
Enable the widget.
-
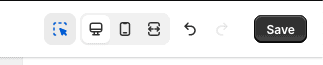
Save your theme.
Octocom isn't listed under App embeds
Install the Octocom app on that specific store, then reopen the theme editor. Each Shopify store needs its own installation. You do not need to approve a Shopify subscription for the widget to appear.
If it is still missing, contact your account manager for help.
2. Whitelist your storefront domain
The widget will only render on domains you have explicitly allowed. This step applies to Shopify exactly as it does to any other site — the app embed loads Octocom, and Octocom then checks the domain before showing anything.
- Go to the Octocom Dashboard.
- Navigate to Settings → Channels → Web Chat → Deployment.
- Add the domain your customers actually visit — the storefront domain shown in the browser address bar (for example
example.com), not yourexample.myshopify.comadmin domain. - Enable deployment using the toggle, and click Save.
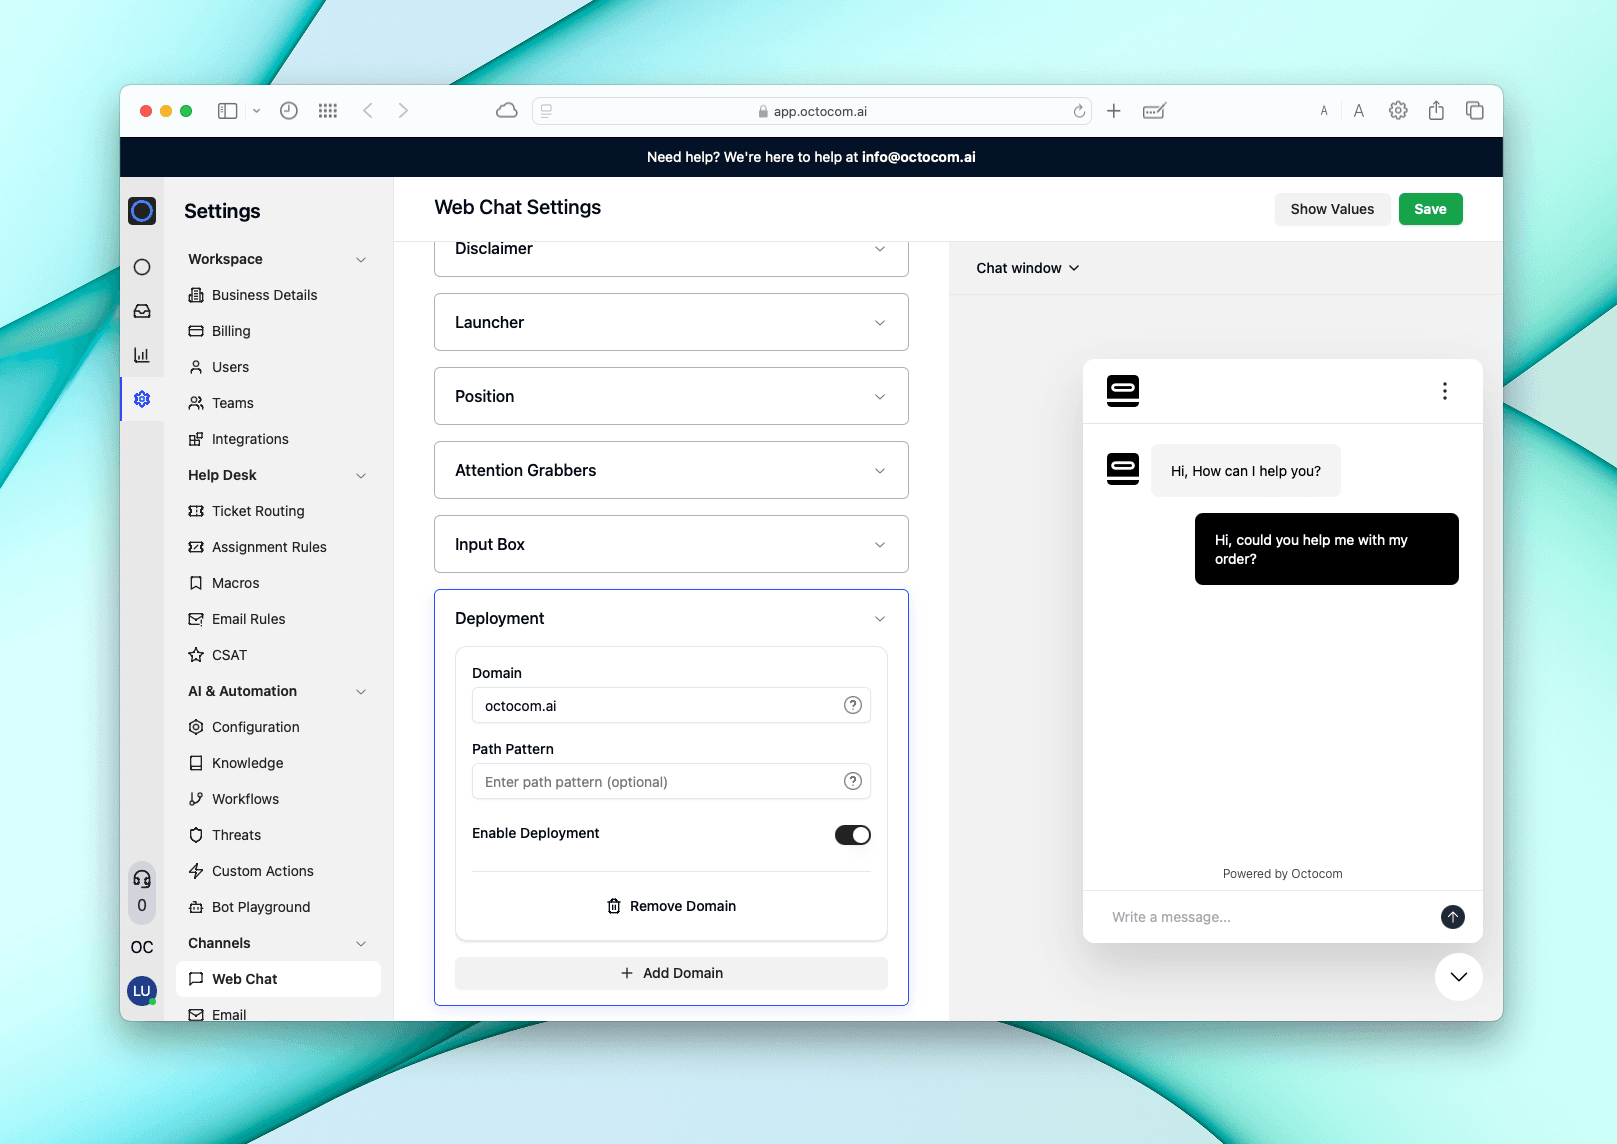
Each hostname needs its own entry
Domains are matched by exact hostname, so every storefront hostname you want the widget on has to be listed separately:
example.comandus.example.comare different hostnames — list both.www.example.comandexample.comare treated as the same, so you only need one of them.- Locale paths on one hostname (
example.com/us/,example.com/nl/) are all covered by that single entry.
3. Verify it works
Open your storefront in a private/incognito window and confirm the chat launcher appears. If it doesn't:
| What you see | Likely cause |
|---|---|
| Widget missing on a Shopify page | Domain not whitelisted, or deployment toggle off — recheck step 2 |
| Widget missing on one domain but working on another | That hostname isn't in the Deployment list |
| Widget missing on your main site, working on the Shopify one | Main site is a custom storefront — use the script tag guide |
| Octocom missing from App embeds | App not installed on that store — see the callout in step 1 |
| Widget appears in the theme editor preview but not live | Theme changes weren't saved, or you published a different theme |
You can also restrict the widget to specific pages (for example /faq or /contact) from the same Deployment tab.
Related
- Launch Chat Widget — script tag setup for custom and non-Shopify storefronts
- Chat Embed Tutorial — embedding chat inline in a page instead of as a floating launcher