
Chat Widget Tutorial
This guide adds the floating Octocom chat widget to a Shopify store using the app embed — no code and no script tag required.
Enable the app embed in your theme. Connecting Shopify automatically adds the storefront domains to Octocom; if the widget does not appear, verify those domains under Web Chat settings using the checks below.
Revenue tracking
Connecting or reconnecting Shopify automatically activates Octocom's checkout tracking for that store. No custom checkout script is required. Additional stores connected to the same business each get their own activation.
The Metrics -> Sales tab is available to everyone with metrics access and is shown by default. If you previously hid it, show it again in your Metrics tab preferences.
Purchase attribution requires a shopper who has opened Octocom chat in the same browser and a completed Shopify checkout. Tracking respects Shopify's analytics consent, so not every checkout is recorded. It starts with future eligible checkouts; it does not import historical orders.
When Shopify reports the order, the purchase also stores its numeric Shopify
order ID as order_id, the ID the Admin API uses in
gid://shopify/Order/<order_id>. Use it to match attributed purchases to Shopify
orders, for example in conversation_purchase_index. Purchases recorded before
this was added have no order ID.
If Shopify reports a tracking activation error during connection, check the app's permissions and reconnect. Contact Octocom if tracking is missing on a store connected before automatic activation was introduced.
Logged-in customer detection
The Shopify app embed automatically passes a logged-in storefront customer's email, full name and Shopify customer ID to Octocom. New conversations are associated with that customer instead of appearing anonymous. No custom JavaScript setting or theme edits are needed.
The widget uses Shopify's Liquid customer object. This applies to
Shopify-rendered theme pages where the embed is enabled, including the
inline chat embed.
Headless storefronts need to supply their own
customer context.
| Local storage key | Conversation metadata key | Purpose |
|---|---|---|
octocom:data:email | chat-widget:email | Also sets the Octocom customer's email |
octocom:data:name | chat-widget:name | Also sets the Octocom customer's display name |
octocom:data:shopify_customer_id | chat-widget:shopify_customer_id | Shopify's numeric customer ID, stored as a string |
octocom:data:shopify_shop_domain | chat-widget:shopify_shop_domain | Permanent .myshopify.com store domain |
Customer context is available in memory at startup. It is persisted when the visitor opens chat. If chat was used previously, the extension also reconciles the existing stored identity on startup. Logged-out visitors have no automatic customer email, name or Shopify customer ID.
The extension clears customer identity immediately when a standard Shopify logout link or form is used. It rechecks Shopify-rendered HTML when the page regains focus, becomes visible, is restored from browser history, and every 30 seconds while visible. This also picks up logins or account switches that happen without a full page reload. Detection from an asynchronous login is eventual, not an instantaneous Shopify login event. If the account changes, Octocom starts a fresh chat session and removes the previous customer's history from the widget. The same account keeps its chat across page loads.
Custom themes can request a fresh check after their own login or logout flow:
document.dispatchEvent(new Event("octocom:refresh-customer"));Network failures or pages without the customer marker leave the last known identity unchanged. The extension manages the four keys above; unrelated custom metadata is preserved. Automatic Shopify values take precedence over conflicting URL or custom-script values for these keys.
Copilot and Python actions can use the metadata for customer lookups. See Shopify Custom Actions. This browser context can be edited by the visitor. For sensitive account data or changes, use the appropriate customer authentication.
Store requirements
A Shopify subscription is not required to launch the widget. You can pay by invoice, Stripe, or another arrangement with our team. During onboarding, choose I'll be paying via another method to continue without subscribing through Shopify. Connecting a store to an existing account does not require a new plan.
This only works on Shopify-hosted storefronts
The app embed is injected by your Shopify theme, so it only runs on pages
Shopify renders — your .myshopify.com storefront and any custom domain
pointed at it.
If your storefront is a headless / custom build (Hydrogen, Next.js, or any site that only uses Shopify for checkout or order data), the theme editor has no effect on it. Add the widget with a script tag instead, following Launch Chat Widget.
Stores often run both: for example a custom site on example.com that syncs
orders to a Shopify storefront on us.example.com. In that setup the app
embed covers us.example.com only, and example.com needs the script tag.
Not sure which you have? Open the page and view source — Shopify-rendered
storefronts include cdn.shopify.com asset URLs.
1. Enable the app embed
-
Navigate to your Shopify store's admin page.
-
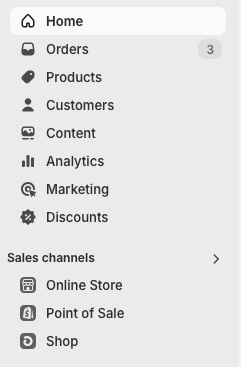
Under "Sales channels" click "Online store".
-
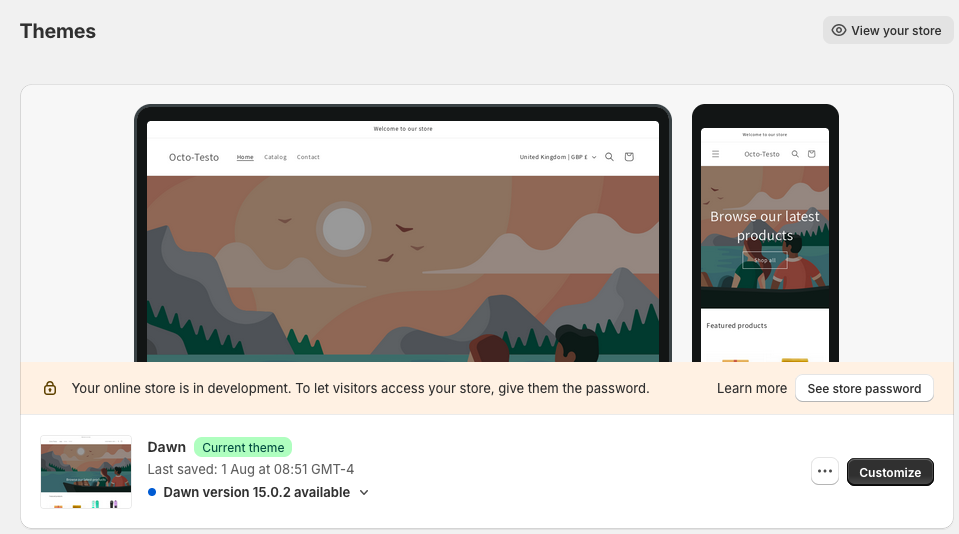
Select the theme you'd like to add the widget to, then click "Customize".
-
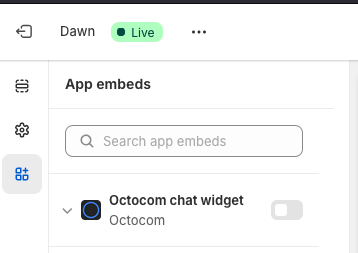
In the left sidebar, click "App embeds".
-
Enable the widget.
-
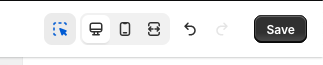
Save your theme.
Octocom isn't listed under App embeds
Install the Octocom app on that specific store, then reopen the theme editor. Each Shopify store needs its own installation. You do not need to approve a Shopify subscription for the widget to appear.
If it is still missing, contact your account manager for help.
2. Whitelist your storefront domain
The widget will only render on domains you have explicitly allowed. This step applies to Shopify exactly as it does to any other site — the app embed loads Octocom, and Octocom then checks the domain before showing anything.
- Go to the Octocom Dashboard.
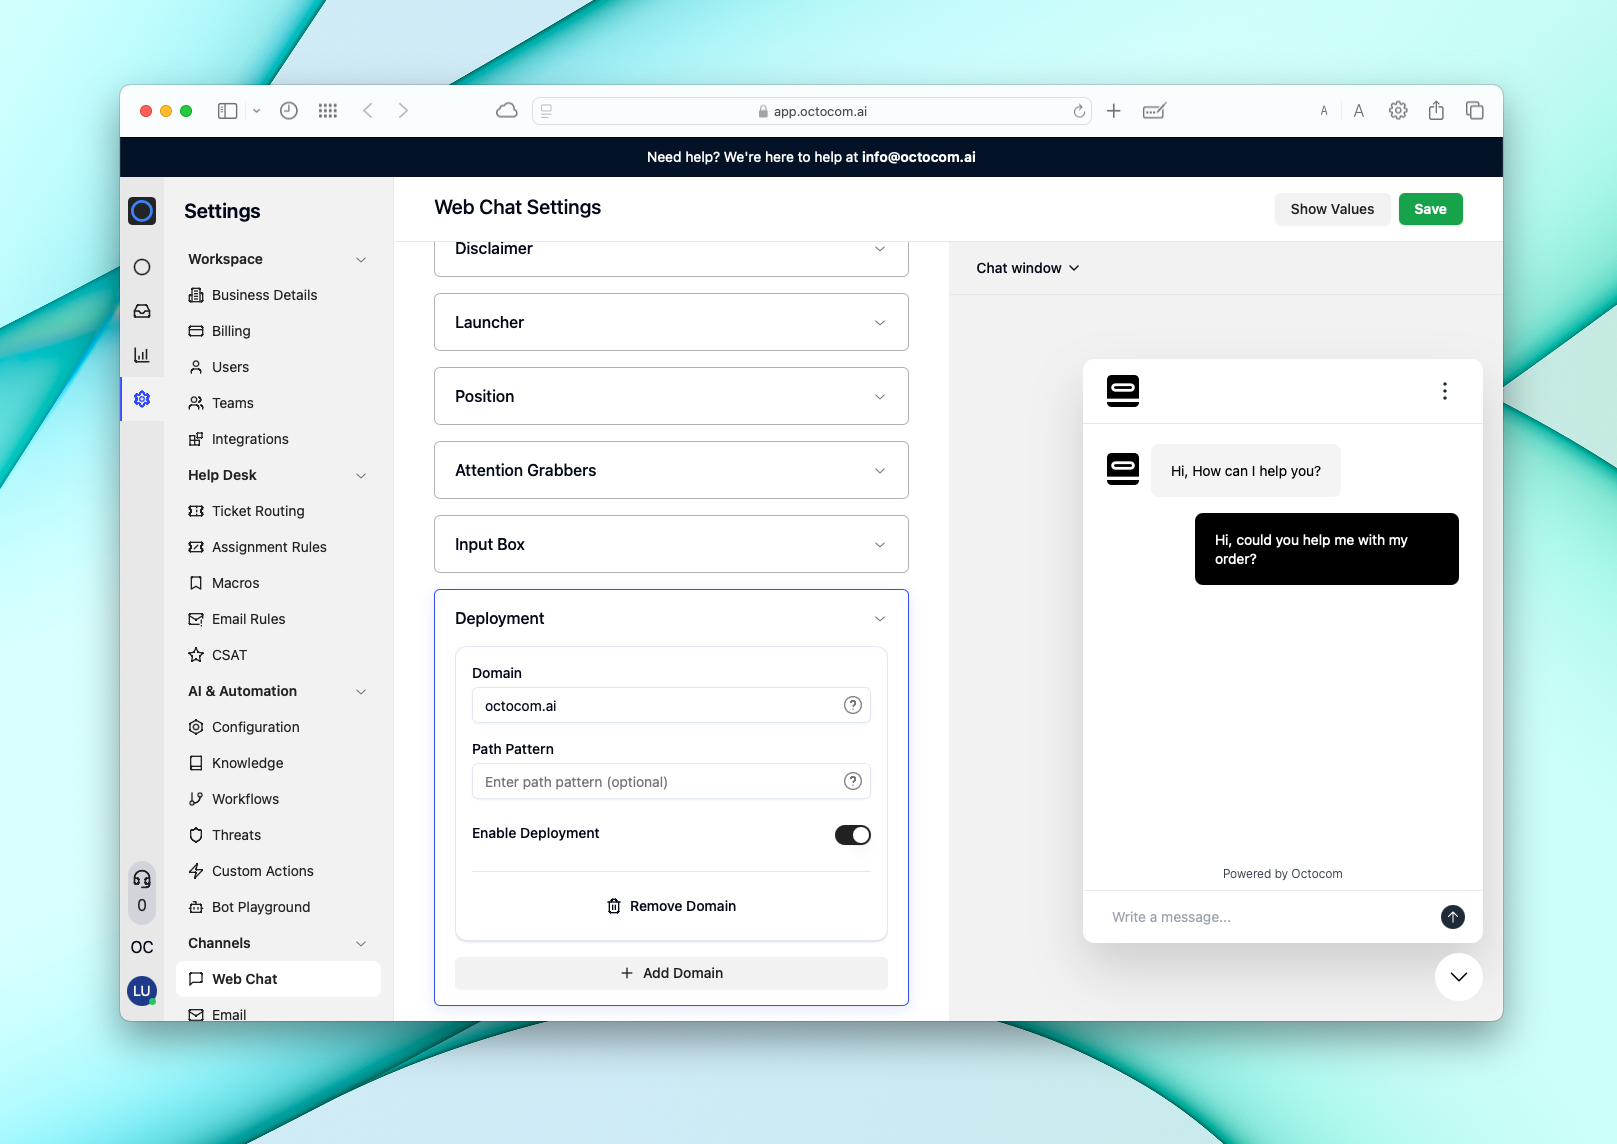
- Navigate to Settings → Channels → Web Chat → Deployment.
- Add the domain your customers actually visit — the storefront domain shown in the browser address bar (for example
example.com), not yourexample.myshopify.comadmin domain. - Enable deployment using the toggle, and click Save.
Each hostname needs its own entry
Domains are matched by exact hostname, so every storefront hostname you want the widget on has to be listed separately:
example.comandus.example.comare different hostnames — list both.www.example.comandexample.comare treated as the same, so you only need one of them.- Locale paths on one hostname (
example.com/us/,example.com/nl/) are all covered by that single entry.
3. Verify it works
Open your storefront in a private/incognito window and confirm the chat launcher appears. If it doesn't:
| What you see | Likely cause |
|---|---|
| Widget missing on a Shopify page | Domain not whitelisted, or deployment toggle off — recheck step 2 |
| Widget missing on one domain but working on another | That hostname isn't in the Deployment list |
| Widget missing on your main site, working on the Shopify one | Main site is a custom storefront — use the script tag guide |
| Octocom missing from App embeds | App not installed on that store — see the callout in step 1 |
| Widget appears in the theme editor preview but not live | Theme changes weren't saved, or you published a different theme |
You can also restrict the widget to specific pages (for example /faq or /contact) from the same Deployment tab.
Related
- Launch Chat Widget — script tag setup for custom and non-Shopify storefronts
- Chat Embed Tutorial — embedding chat inline in a page instead of as a floating launcher